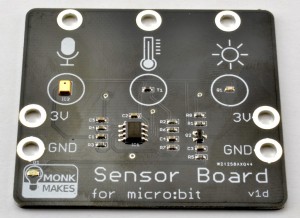
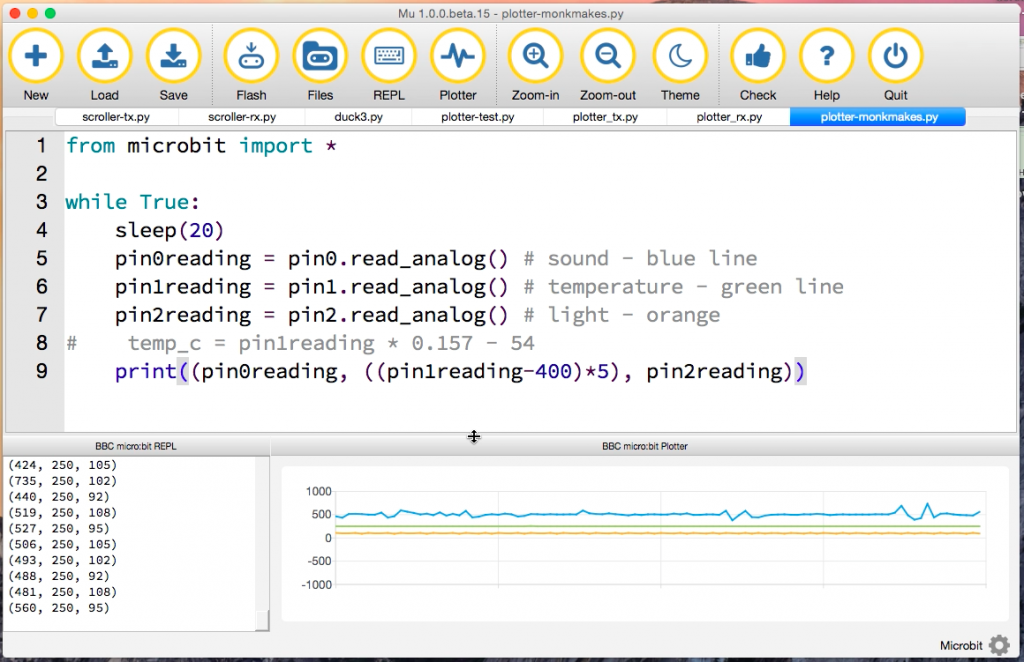
 The Mu Python editor’s new plotter function continues to delight me. I connected a Monk Makes Sensor Board to a micro:bit and wrote a few lines of Python to see whether I could get some live data readings from its three sensors: sound, heat and light. And by golly, it works!
Here’s the Python program I used. I opened the REPL and plotter in Mu and then flashed this code onto a micro:bit with the sound, temperature and light sensors attached to pins 0, 1 and 2 respectively:
from microbit import *

while True:
    sleep(20)
    pin0reading = pin0.read_analog() # sound - blue line
    pin1reading = pin1.read_analog() # temperature - green line
    pin2reading = pin2.read_analog() # light - orange line
    print((pin0reading, ((pin1reading-400)*5), pin2reading))
I messed around with the temperature reading a bit to get it to scale, you could probably do a better job. The video below shows the board in action with live-plotting. It’s only (at the time of writing) £7.20 from CPC, a real bargain for three sensors in one easy-to-use board.
You can download the beta version of Mu 1.0 for your OS of choice using the links at the foot of this Github page.


Hi,
Thanks so much for your tutorials. I have been using them with different classes and they are fantastic. I am wondering if you can offer any insight as to how I can transmit the data from the monk makes sensor board to another microbit and then have it show on the live plotter. I have tried the following but I always get an error. With some modifications I have had the numbers show up on the REPL for one of the the three sensors but not the plotter. My students are building “mars rovers” that will drive into a new planetary zone and collect data (wirelessly).
from microbit import *
import radio
radio.on()
radio.config(channel=19) # Choose your own channel number
radio.config(power=7) # Turn the signal up to full strength
while True:
sleep(20)
pin0reading = pin0.read_analog() # sound – blue line
pin1reading = pin1.read_analog() # temperature – green line
pin2reading = pin2.read_analog() # light – orange line
radio.send(str(pin0reading, ((pin1reading-400)*5), pin2reading))
Hi Ryan – apologies for the delay getting back to you, I get a lot of spam comments and the real ones get buried sometimes! Do you get an error message or is the problem just that the numbers don’t get plotted?