
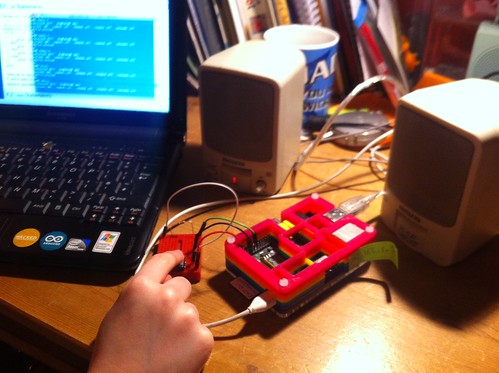
Tonight my daughter (8) helped me add a button to my RaspberryPi internet radio, which I made out of bits of electronic rubbish lying round the house.
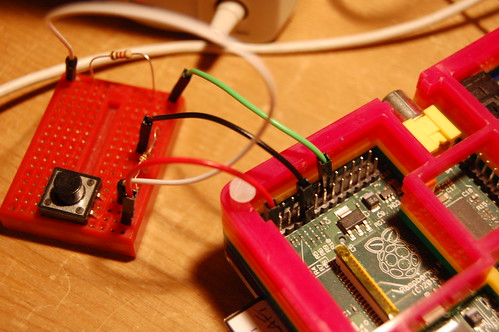
We started by going back to basics and just getting a button working. We used this tutorial and used the pull-down resistor diagram – it’s not clear on the web site but it’s the lower of the 2 circuit diagrams. We used GPIO pin 23 instead of 17, but other than that it’s just the same. Using a little breadboard, we connected 1 side of the switch to the 3.3v pin on the RaspberryPi. The other side of the switch is connected via a 1K resistor to RaspberryPi GPIO pin 23, and via a 10K resistor to a GND pin on the Pi.
We then used a simple bit of code to test the button, incrementing and printing a variable called ‘station’ by 1 when the button is pressed. As in the tutorial we found that pressing the button even briefly caused the station counter to go up to 188. As far as I know, there’s no BBC Radio 188, so we had to add the debounce code. This made all the difference – now the counter just went up by 1 each time we pressed the button, even if we held it down for a long time.
Then we wrote some code to get MPC to play the next station in its playlist every time we press a button. I’ve already added 7 stations, BBC Radio 1 – 6 and NPR. (I used to work for NPR, and have a soft spot for them). If the station number gets higher than 7 (NPR), it gets set back to 1 (BBC Radio 1).

We called this code radio.py and ran it by typing sudo python radio.py at the command line.
We noticed initially that the radio didn’t come on when we ran the Python script, only when we pressed the button, and it jumped straight to Radio 2. So we added a line os.system(“mpc play 4″) near the top to start it playing from the get-go. I also set it to start playing Radio 4 by default, as that’s the station I probably listen to most of all.
We had a discussion about how real radios behave – we found that most radios remember which station you were listening to last time, and tune to that station when you turn them on. Next time we’ll see how we can make our radio do this.
Here’s our simple radio code:
#!/usr/bin/env python

import RPi.GPIO as GPIO
import time
import os

GPIO.setmode(GPIO.BCM)
GPIO.setup(23, GPIO.IN)

station = 4
os.system("mpc play 4")

#initialise previous input variable to 0
prev_input = 0
while True:
  #take a reading
  input = GPIO.input(23)
  #if the last reading was low and this one high, do stuff
  if ((not prev_input) and input):
    print("Button pressed")
    station += 1
    if station > 7:
       station = 1
    print(str(station))
    os.system("mpc play " + str(station))

  #update previous input
  prev_input = input
  #slight pause to debounce
  time.sleep(0.05)
Pingback: Adding a Button to PiRadio @Raspberry_Pi #piday #raspberrypi « adafruit industries blog